This tutorial walks through how you can deploy WordPress on a CS Department Server.
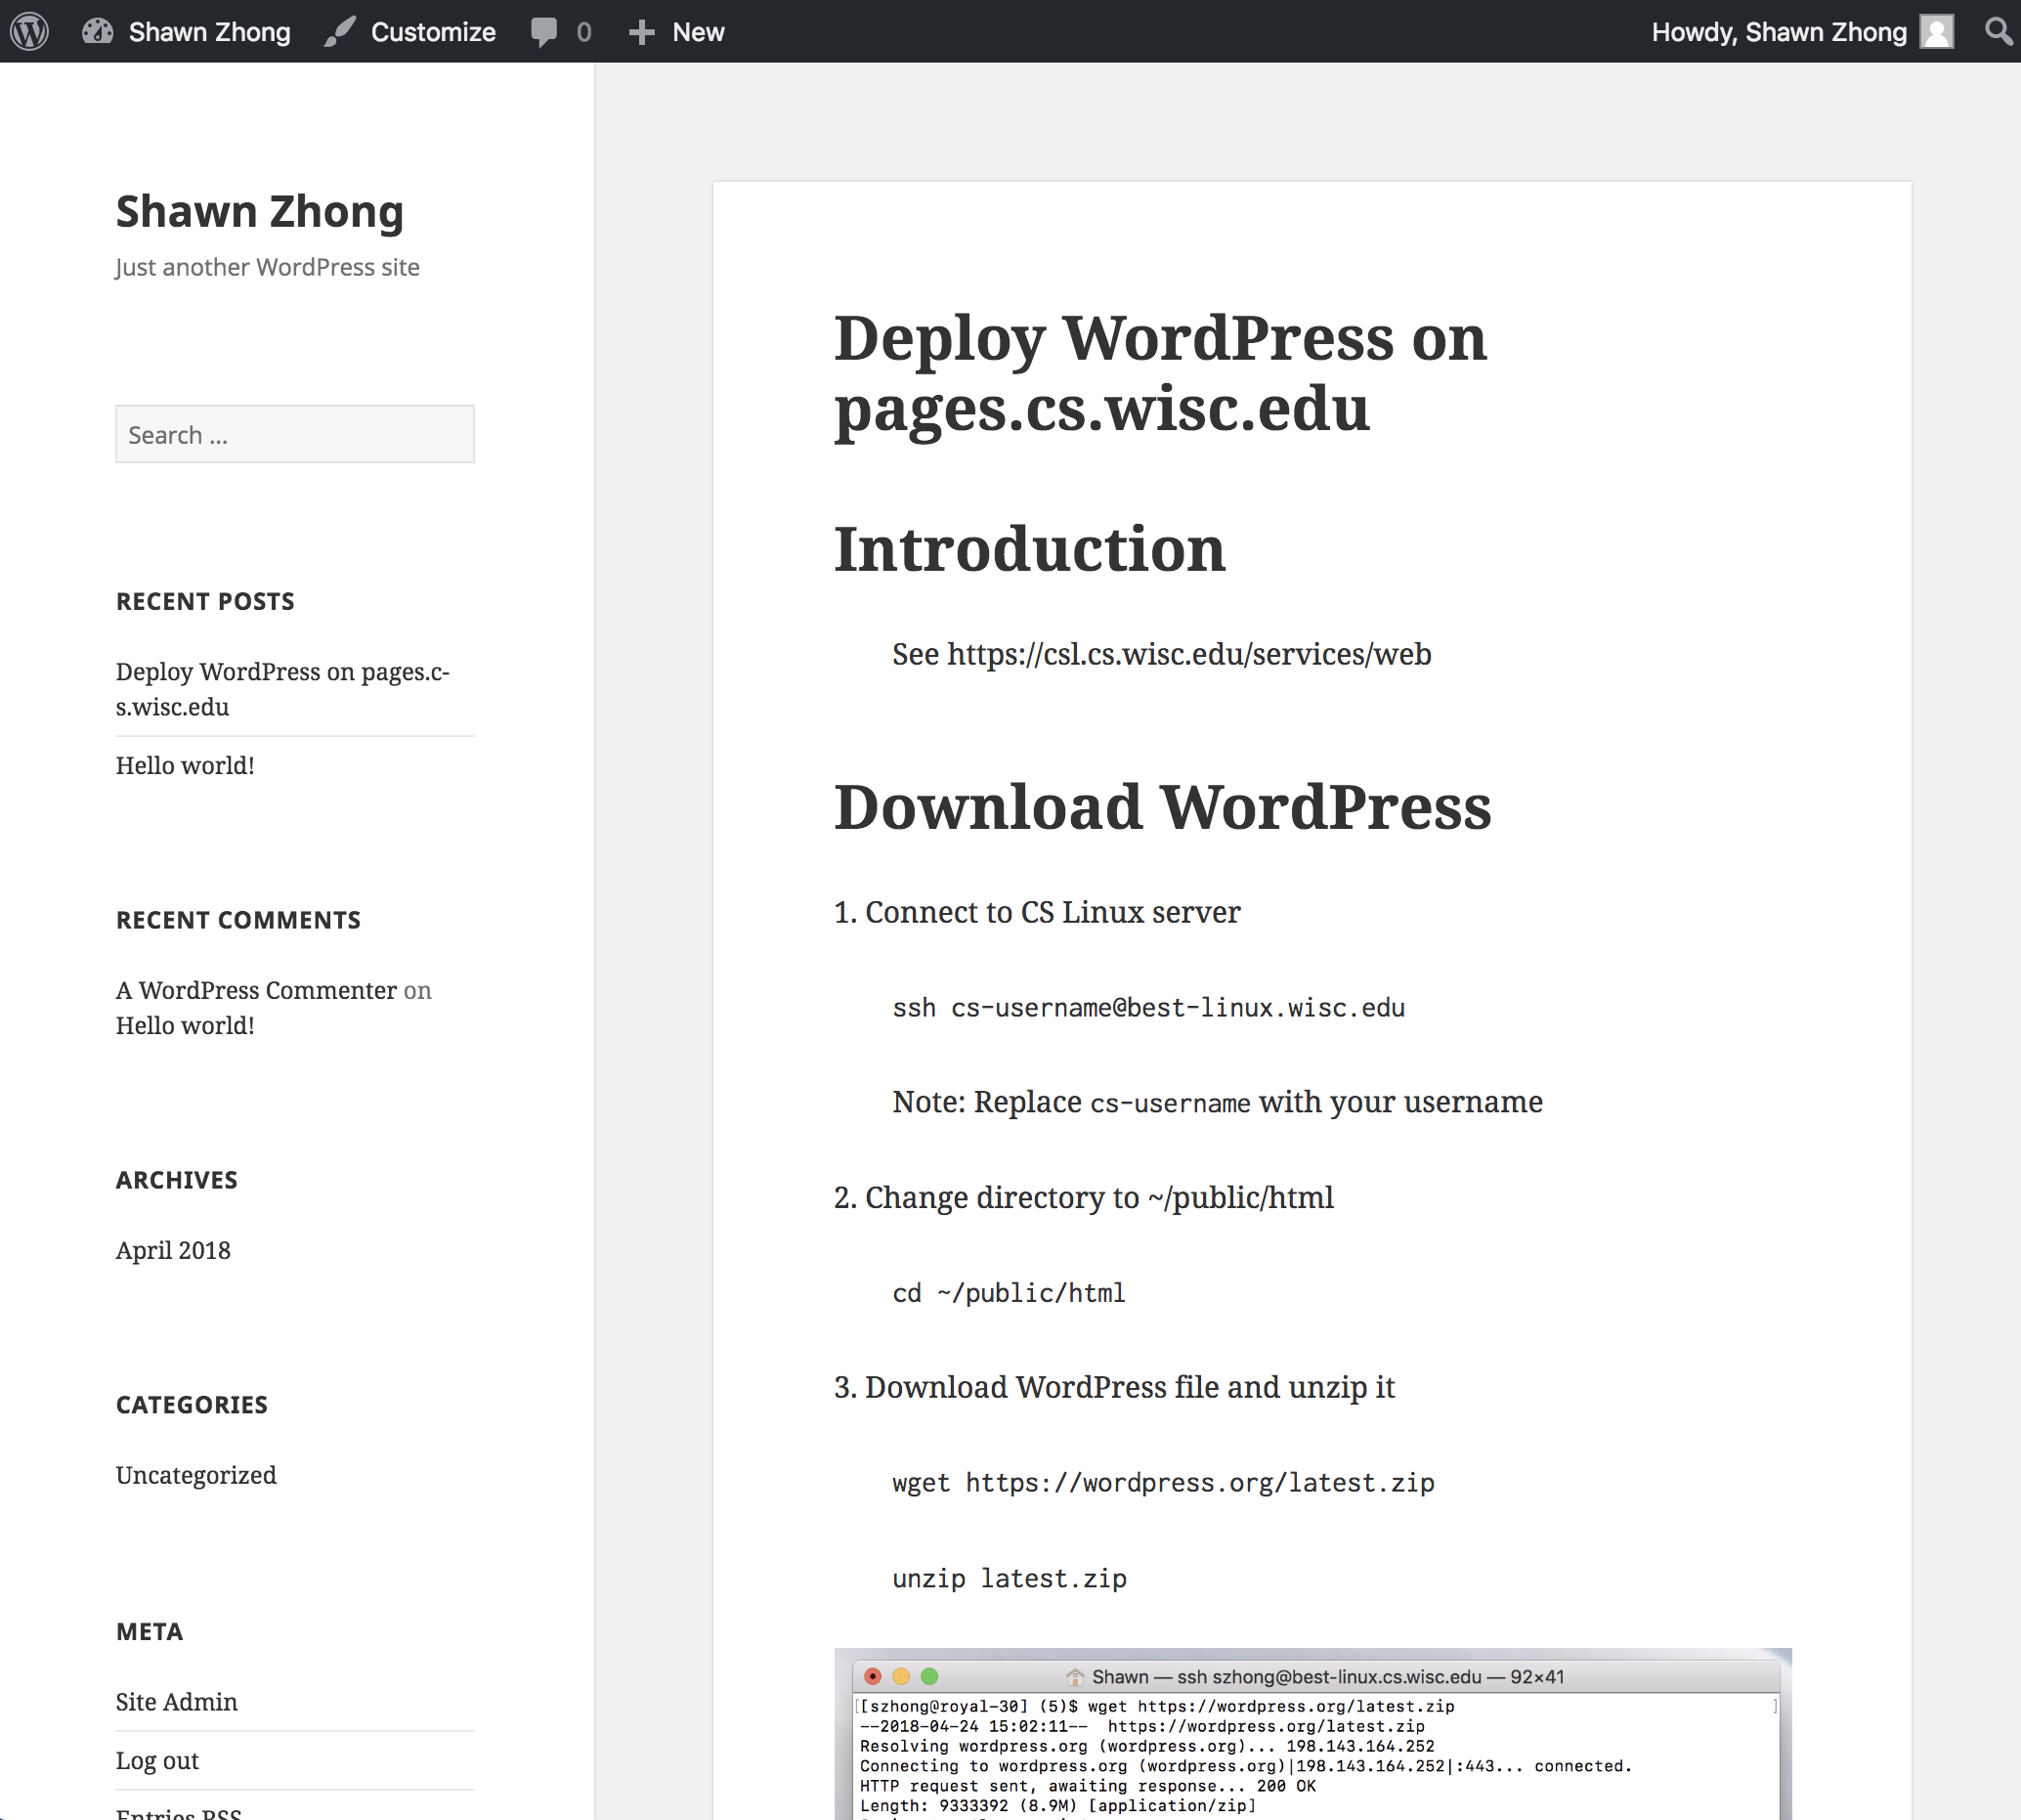
Download WordPress
1. Connect to CS Linux server
If you are using Mac or UNIX system, use the ssh command:
ssh cs-username@best-linux.wisc.edu
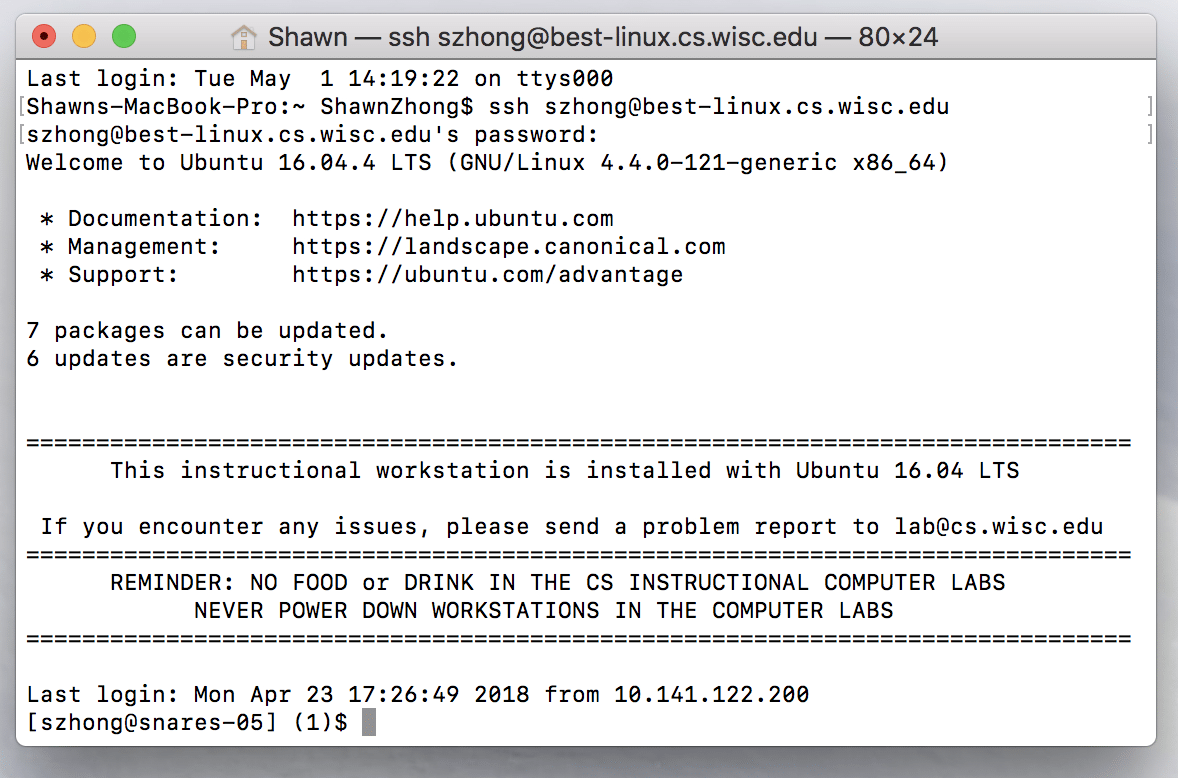
If you are using Windows, download PuTTY to connect to the server
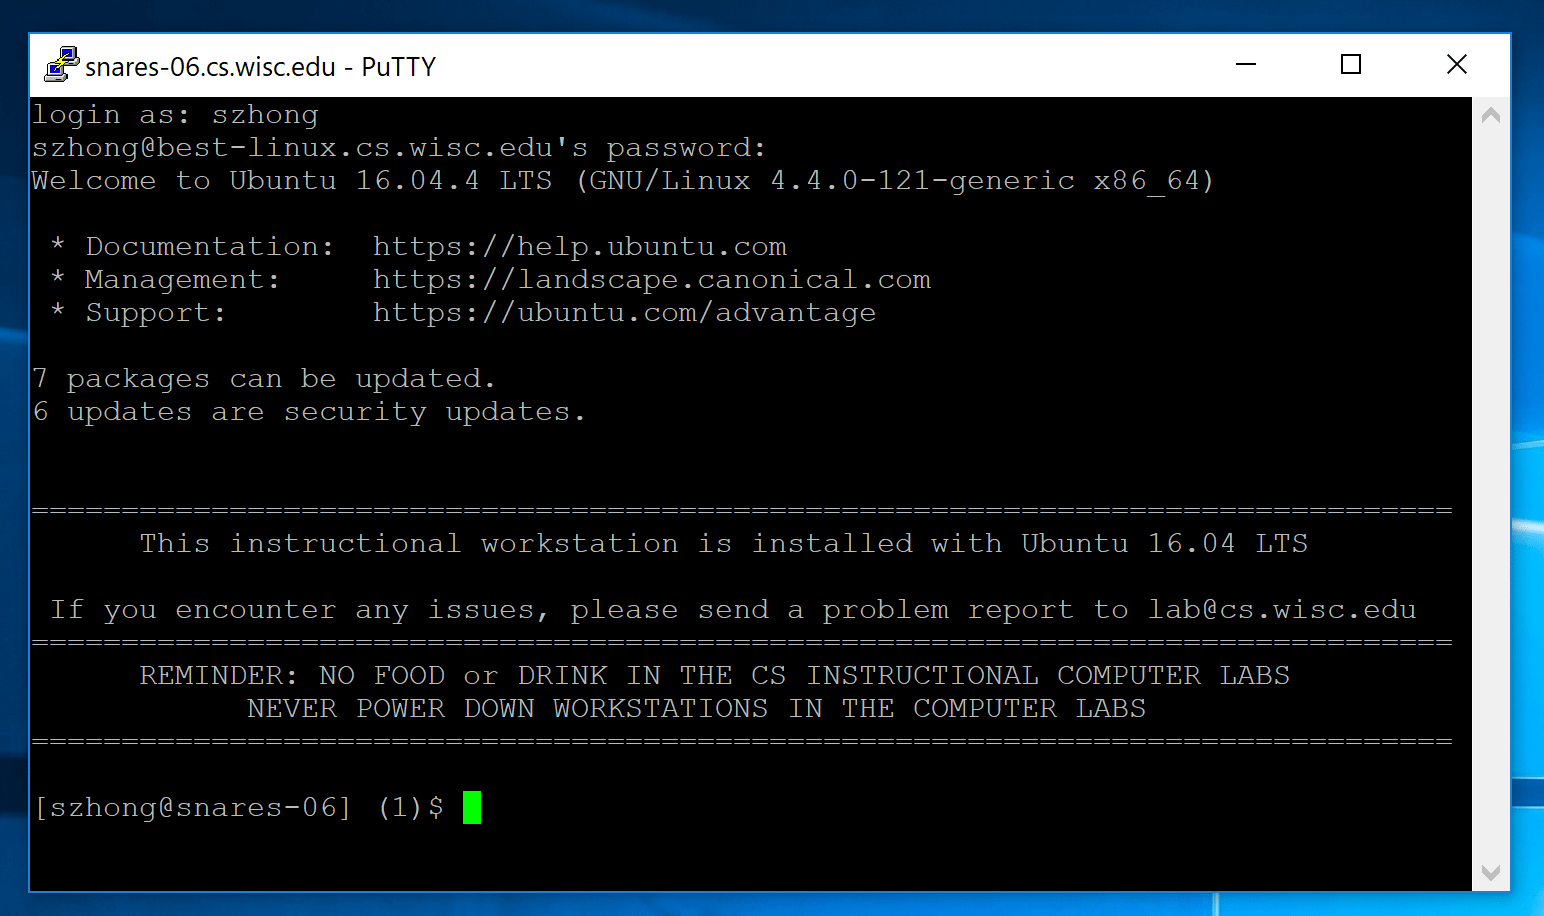
Note: Replace cs-username with your username
2. Change directory to ~/public/html
Type cd ~/public/html in the terminal, and press enter
Everything in this directory will be public at http://pages.cs.wisc.edu/~cs-username/
3. Download WordPress file and unzip it
Use wget to download the file from wordpress.org
wget https://wordpress.org/latest.zip
And use unzip to unzip the files
unzip latest.zip

4. WordPress installed!
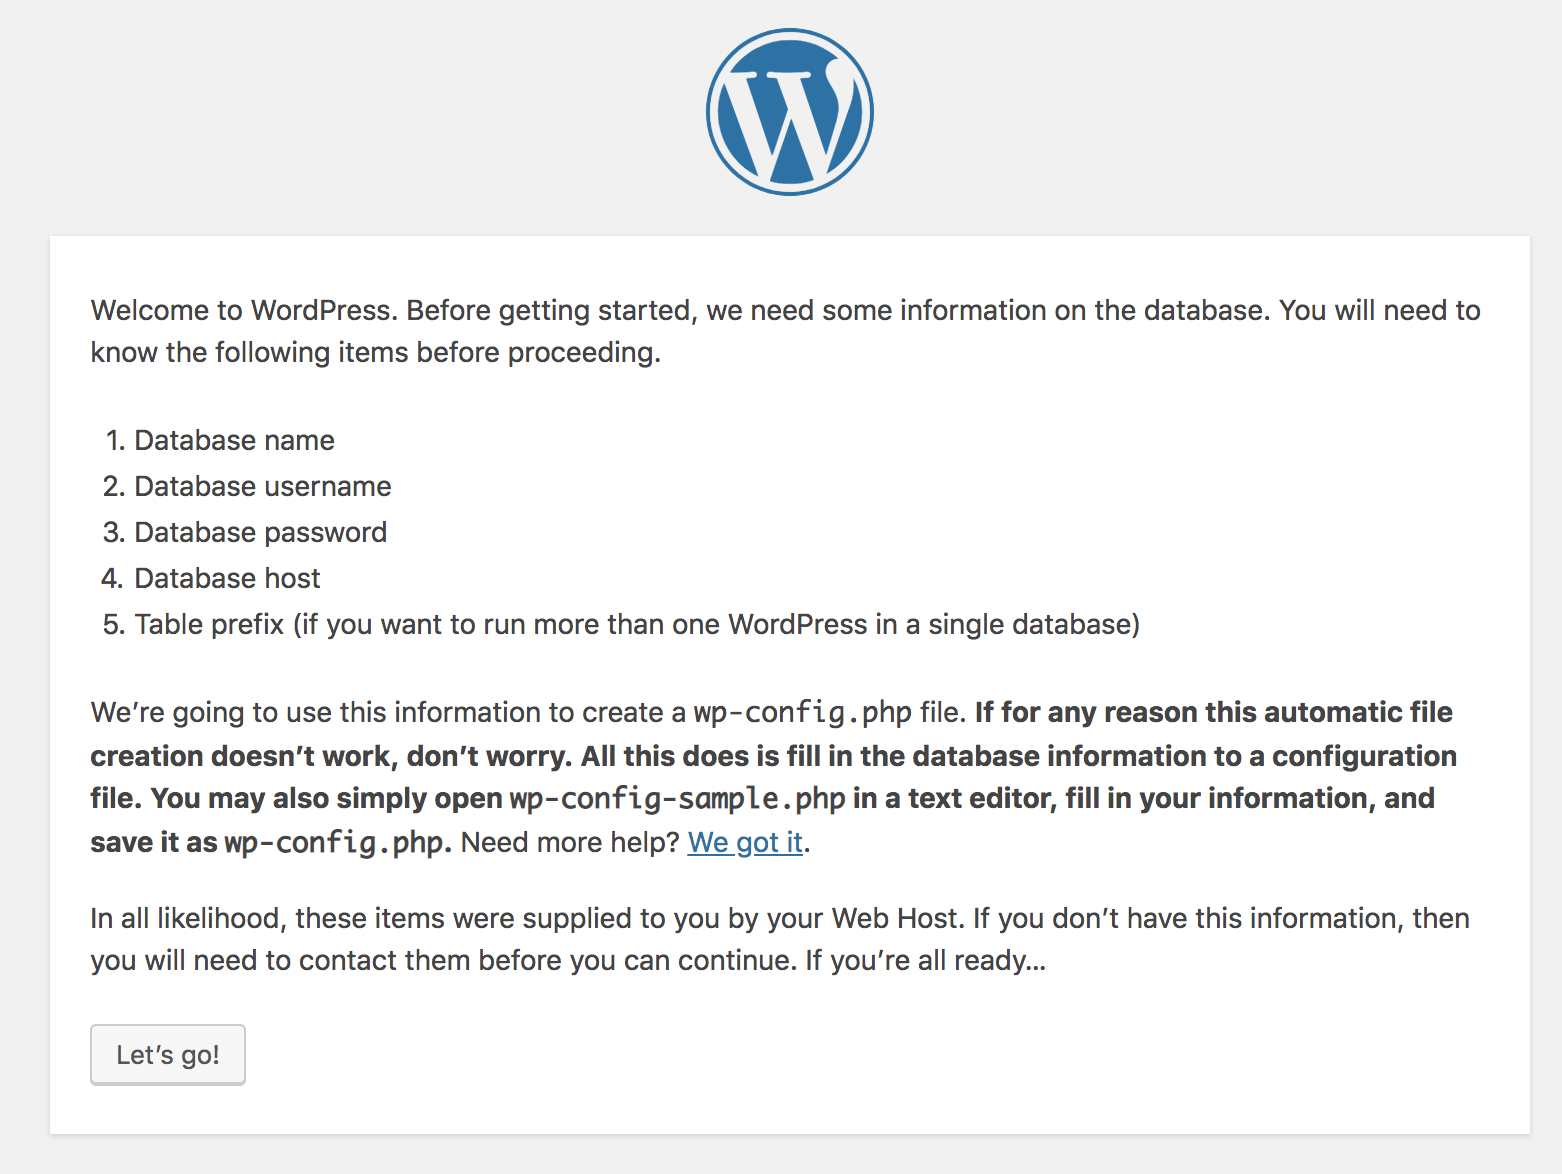
Open http://pages.cs.wisc.edu/~cs-username/wordpress/, and you should see the page below
Create a Database on GearHost
1. Create an account on GearHost
https://my.gearhost.com/account/signup
2. Create a database
Open the “Database” tab on the left
Click “Create Database” button

Choose a database name, and select MySQL (free)
Click “Create Empty Database”
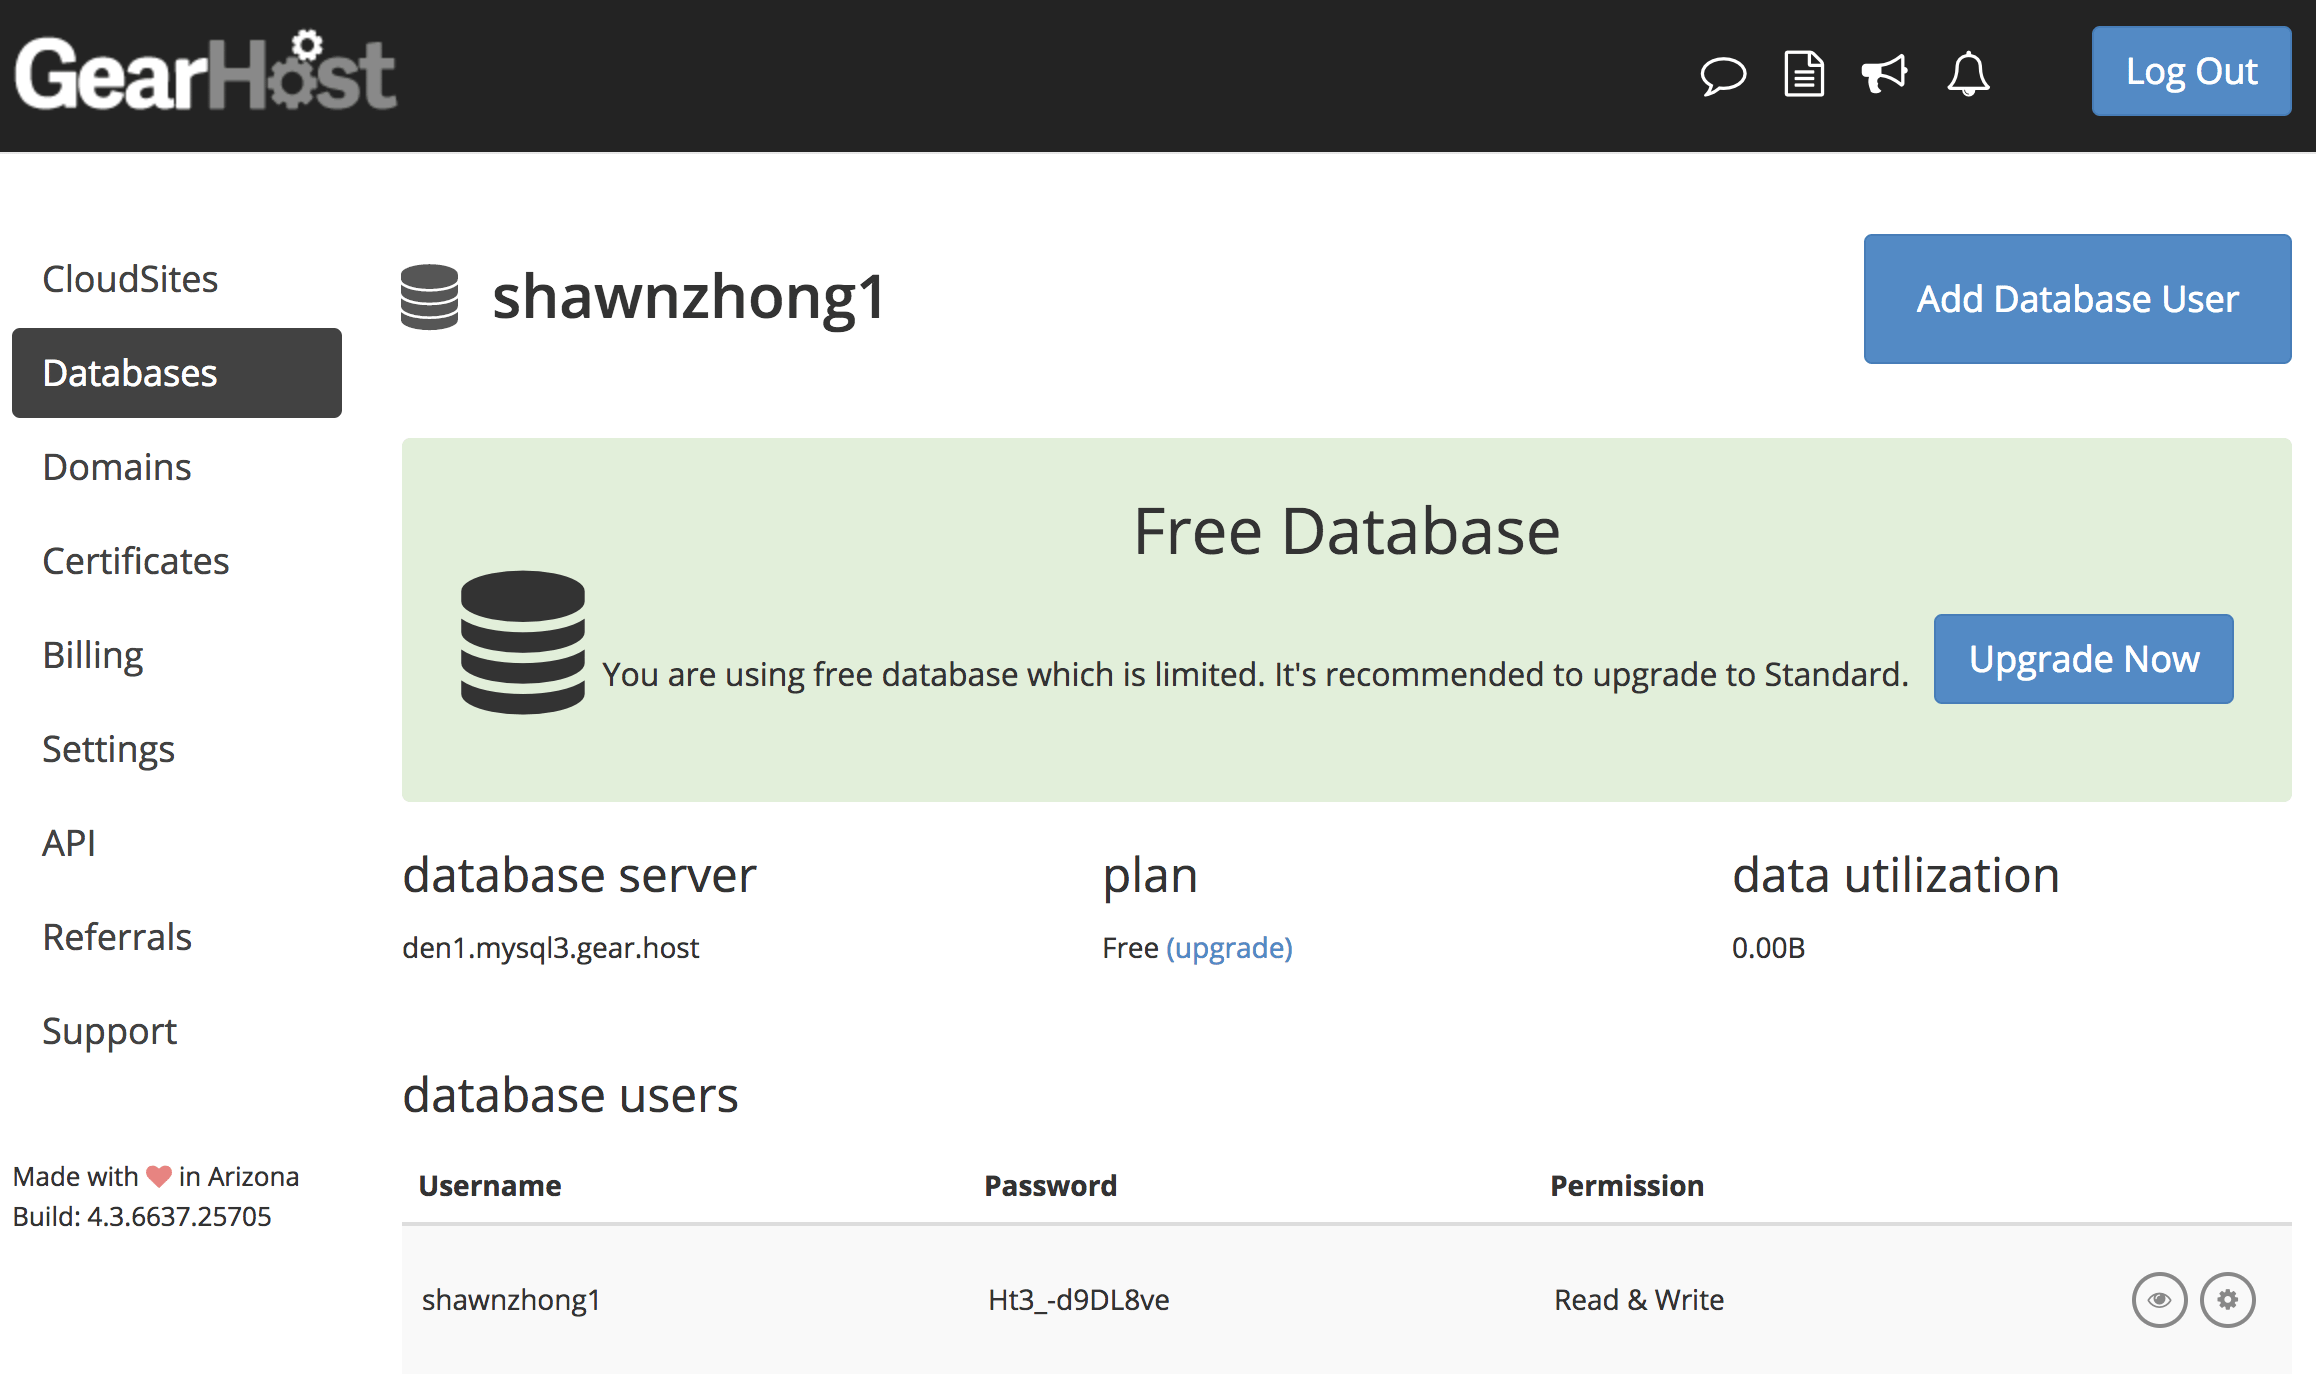
Record your database name, database server, username, and password
Configure WordPress
1. Open http://pages.cs.wisc.edu/~cs-username/wordpress/

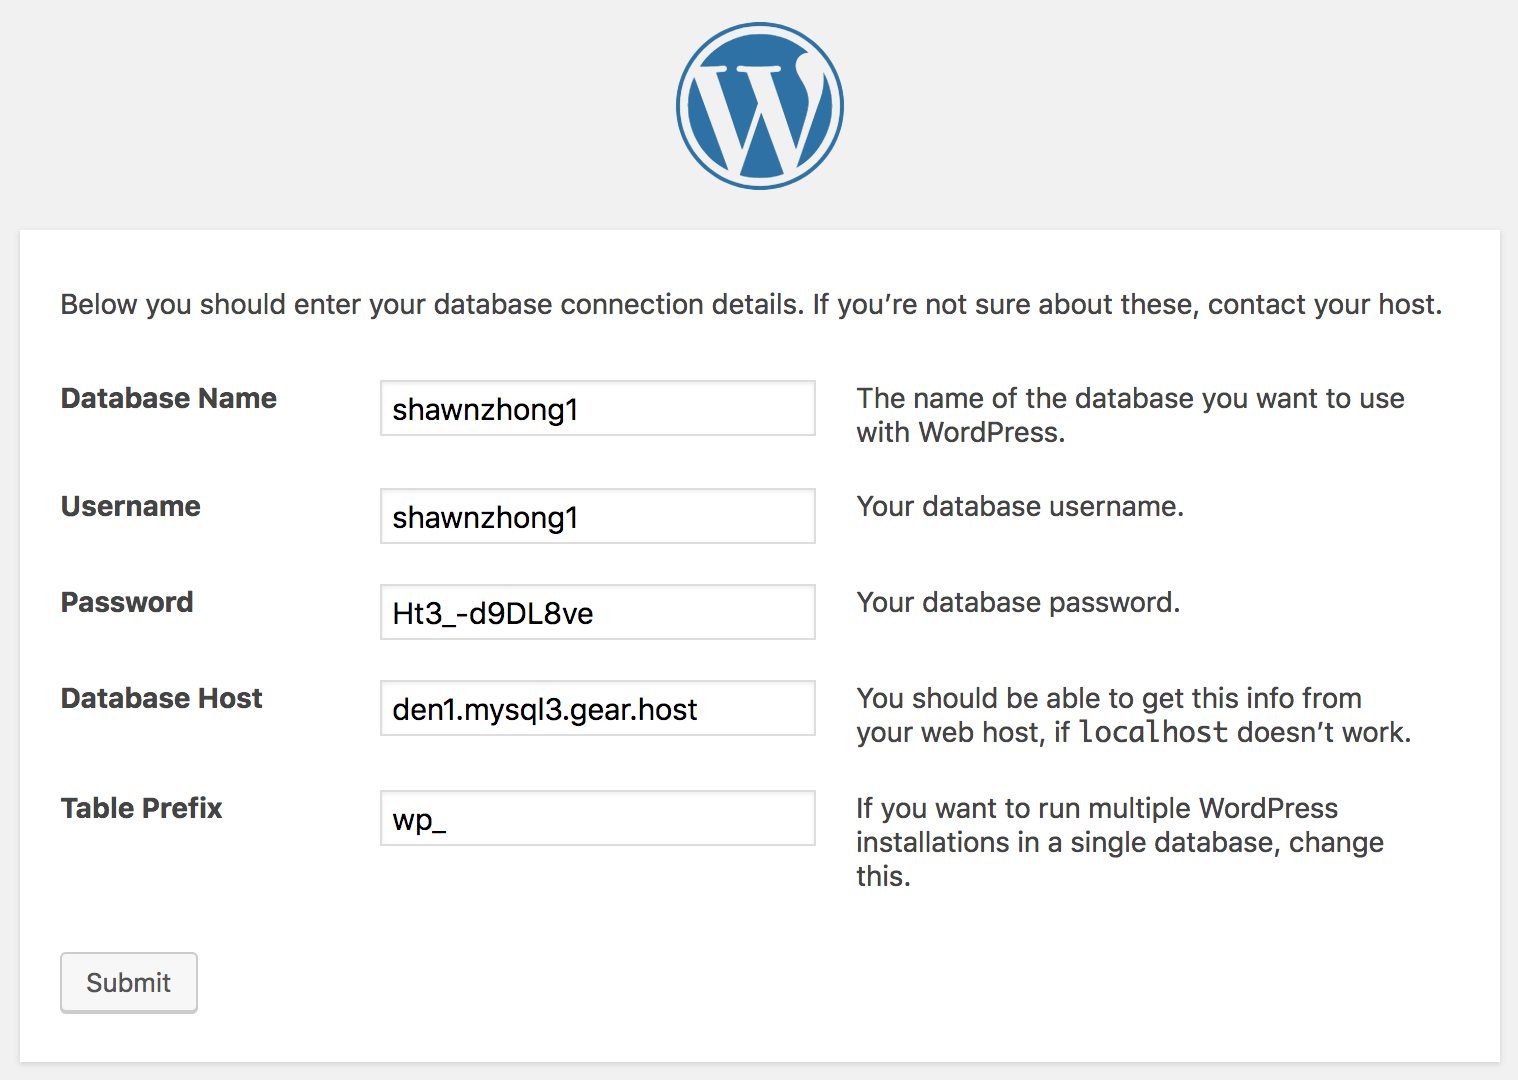
2. Fill in the database information, and click submit
3. Copy the content of wp-config.php
Since we don’t have the write permission to the server through webpage, we have to manually create this file
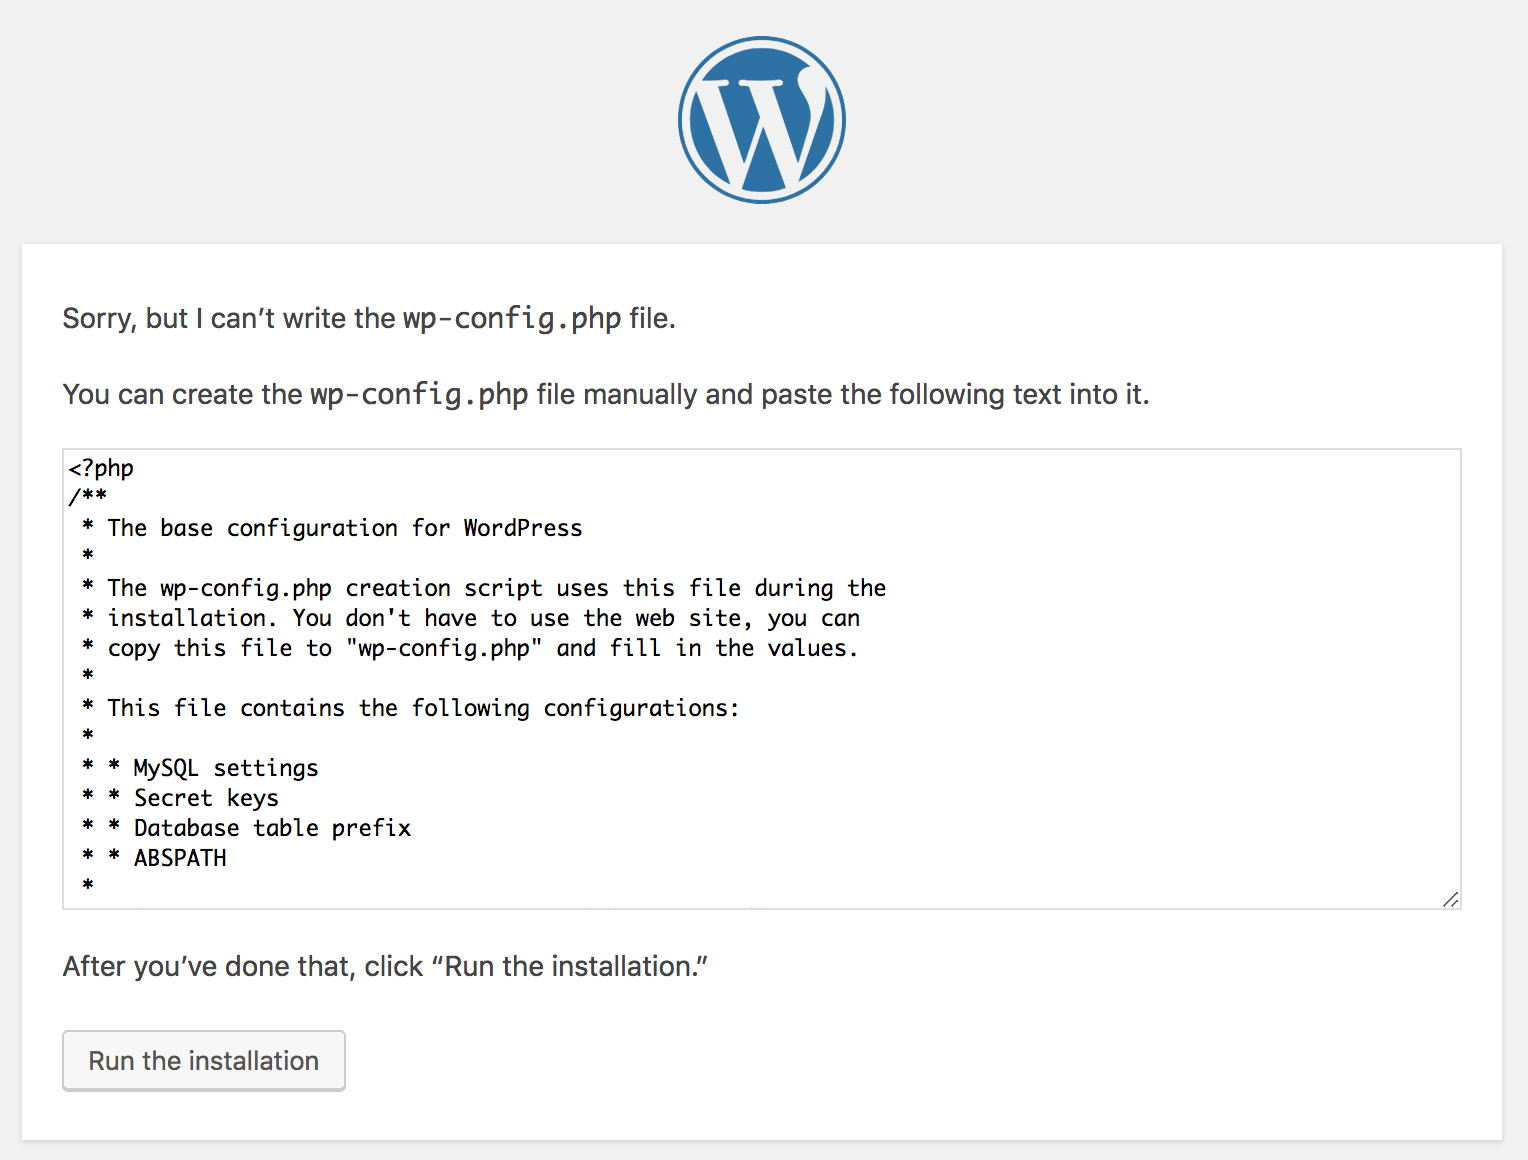
4. Go back to CS Linux server, and change directory to ~/public/html/wordpress
cd ~/public/html/wordpress
5. Open text editor, and create the file wp-config.php
nano wp-config.php
Note: You can also use vi or vim instead of nano, but nano is easier to use.
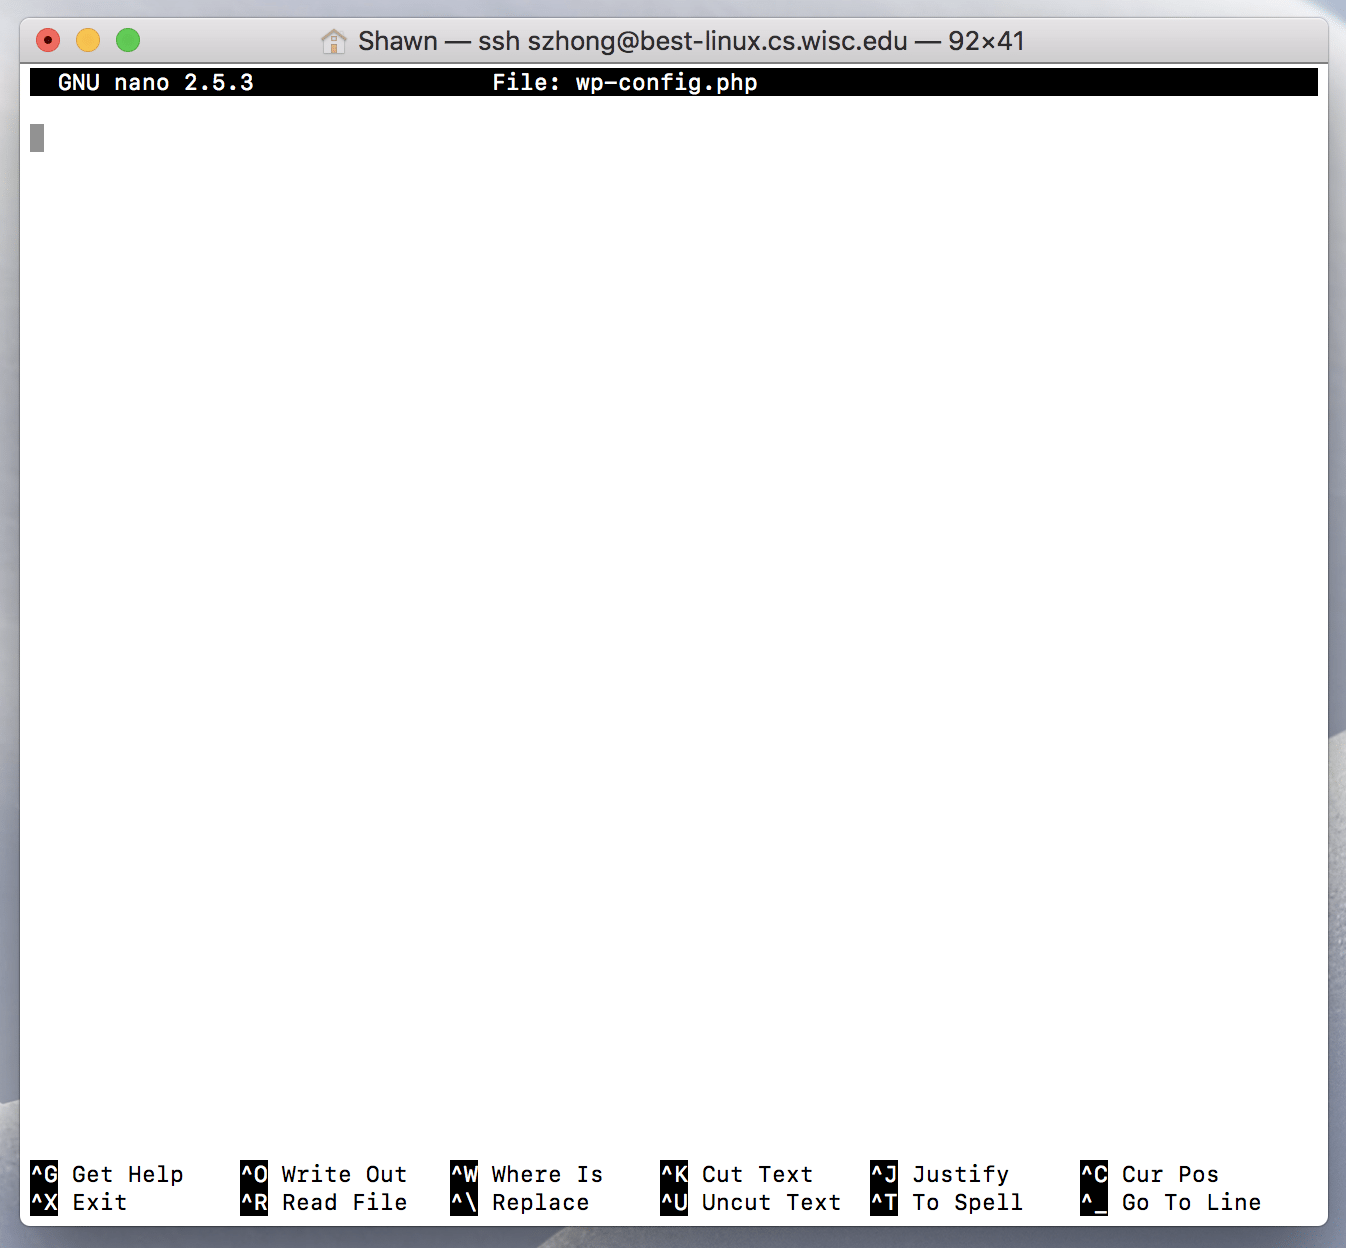
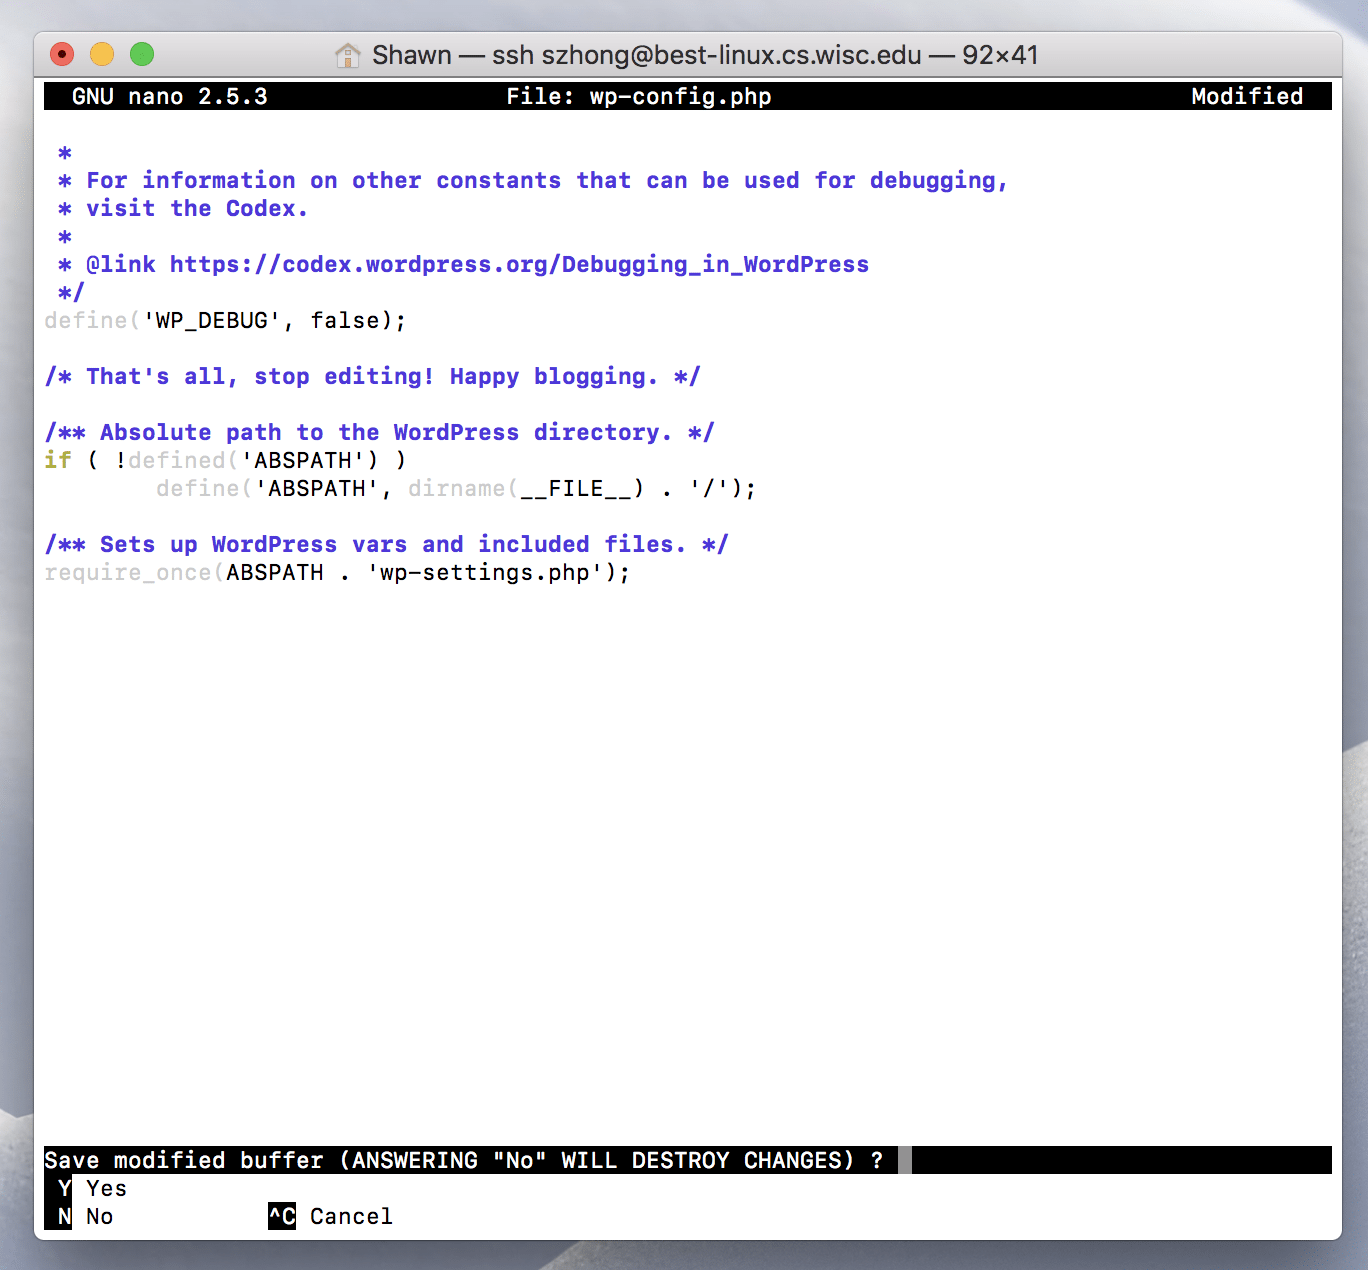
6. Paste the content

7. Control+X and press enter to save the file
8. Go back to the website and press install
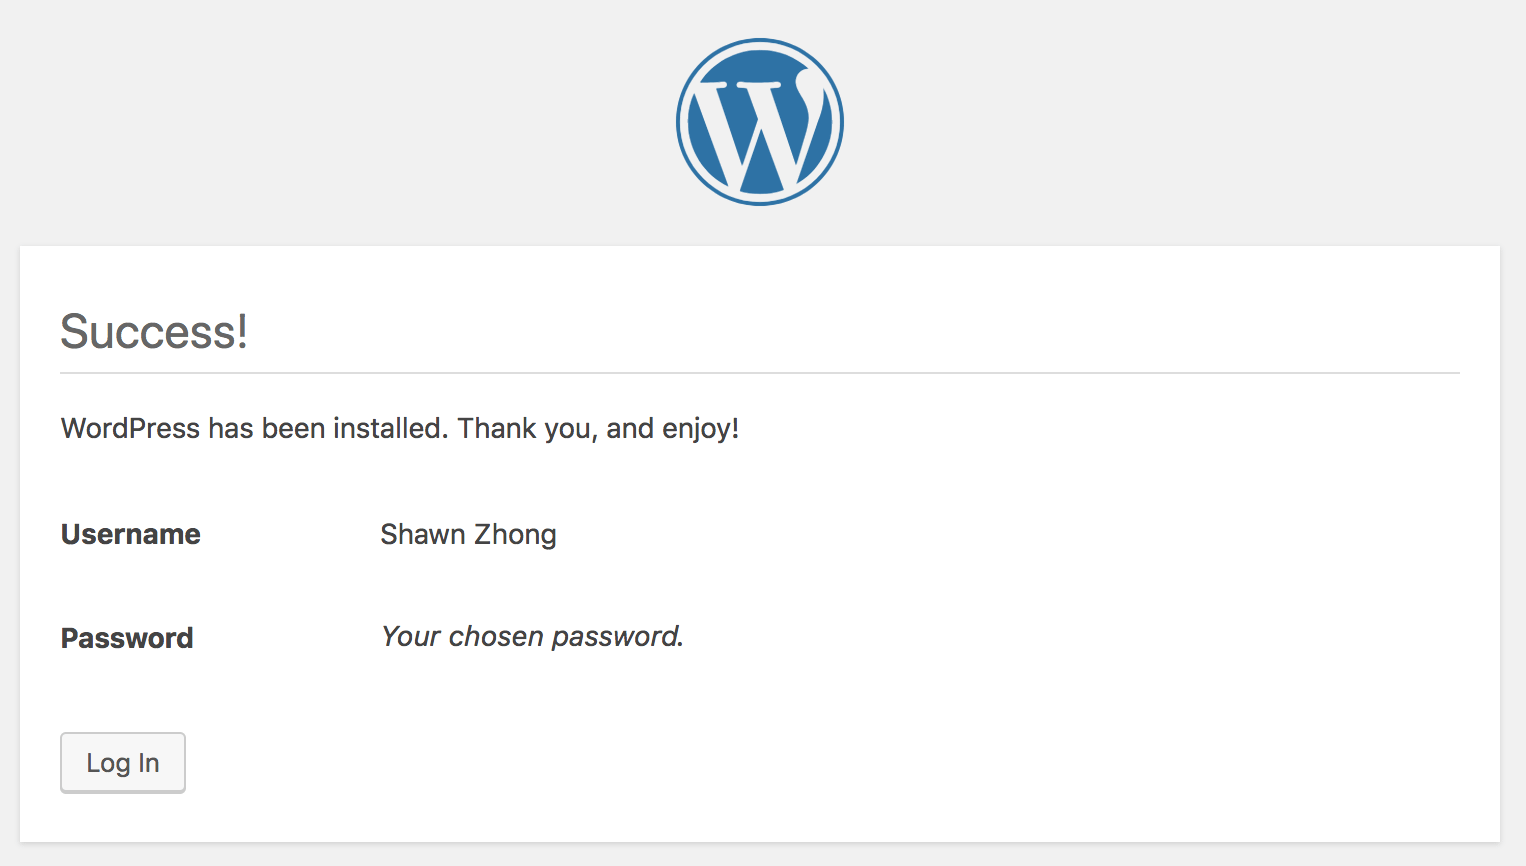
 9. WordPress installed!!!
Add Write Permission
1. Connect to CS Linux server and install “SSH SFTP Updater Support” plugin
ssh cs-username@best-linux.wisc.edu
cd ~/public/html/wordpress/wp-content/plugins/
wget https://downloads.wordpress.org/plugin/ssh-sftp-updater-support.0.7.3.zip
unzip ssh-sftp-updater-support.0.7.3.zip
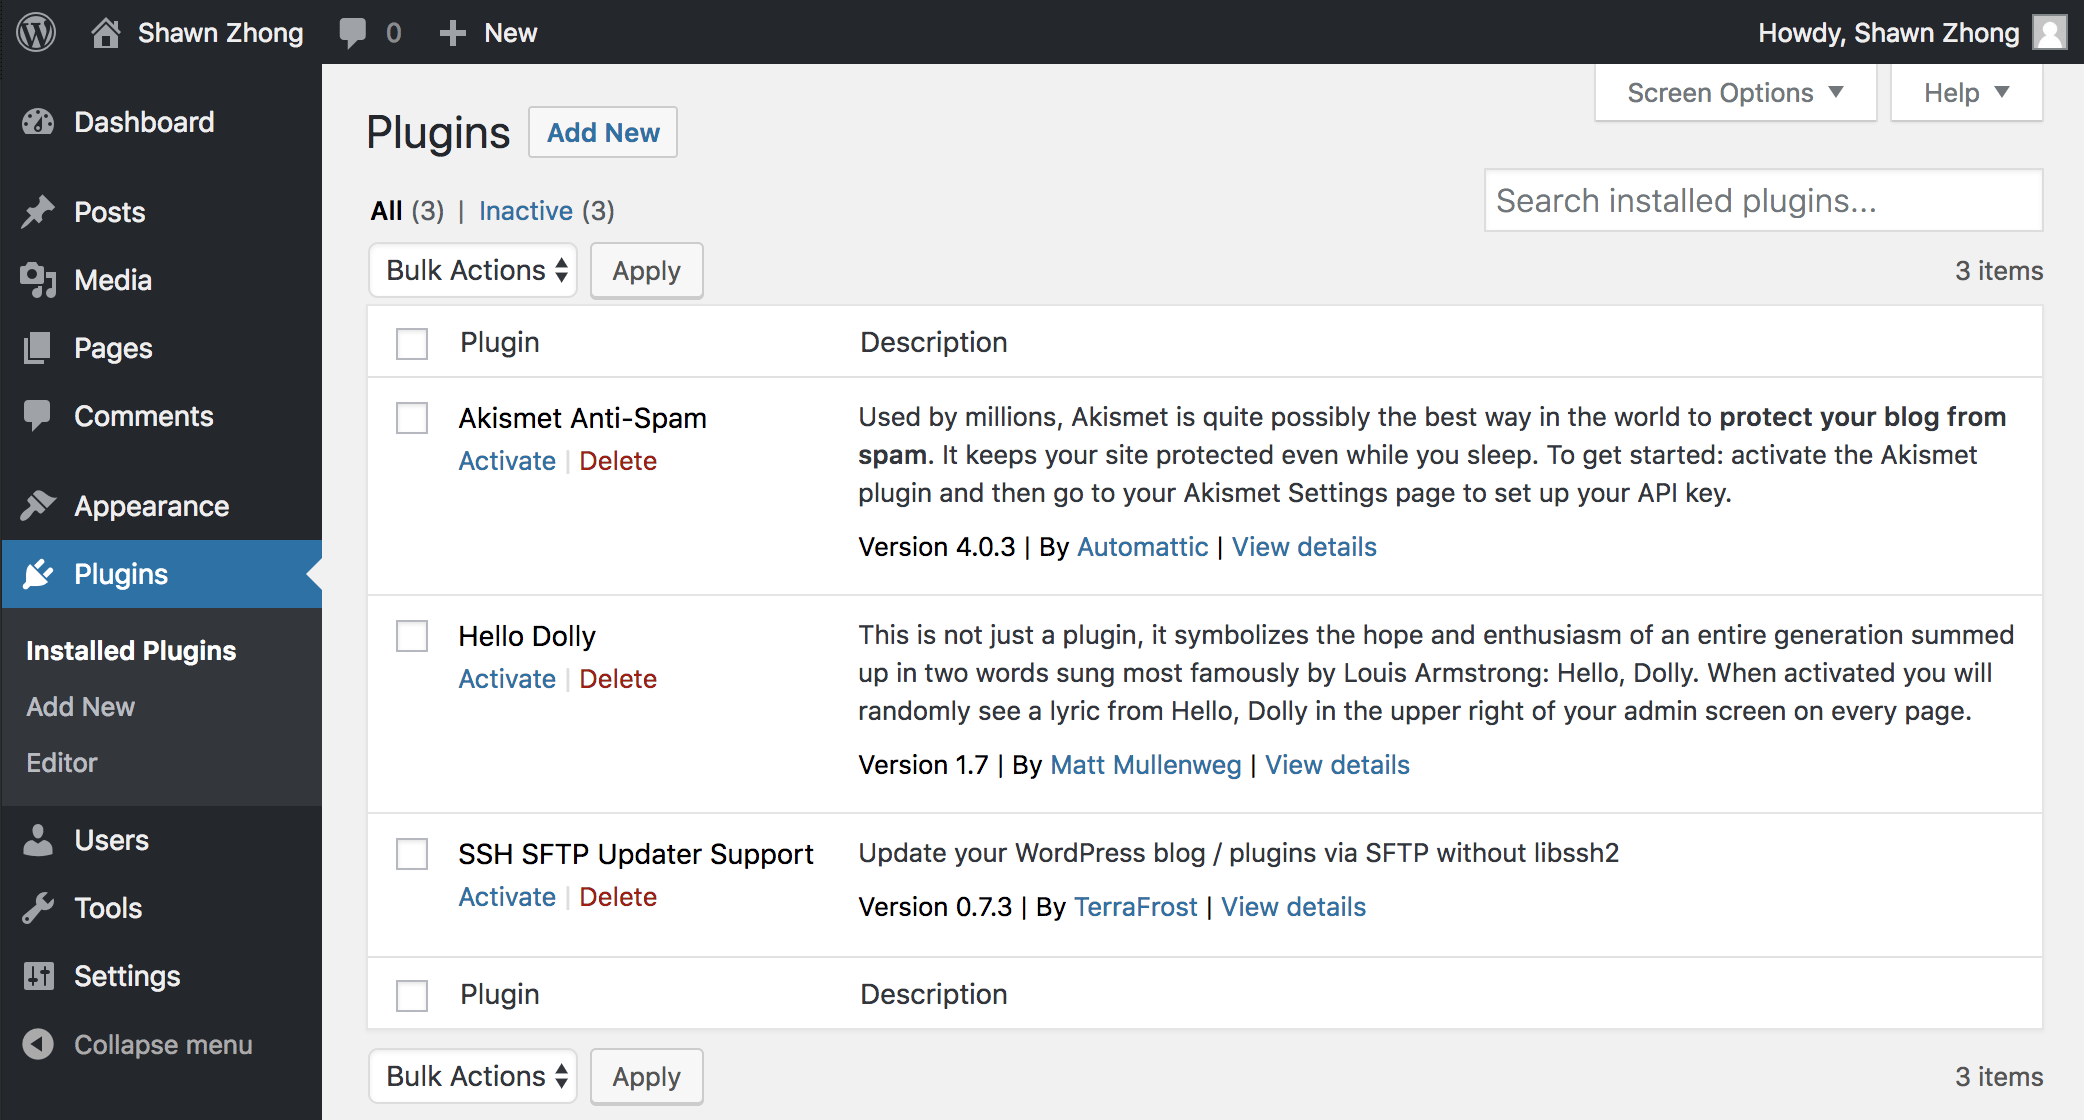
2. Enable the plugin on Dashboard
Open http://pages.cs.wisc.edu/~cs-username/wordpress/wp-admin/plugins.php
Click “activate” below “SSH SFTP Updater Support”
3. Configure “SSH SFTP Updater Support” Plugin
Open http://pages.cs.wisc.edu/~cs-username/wordpress/wp-admin/theme-install.php?browse=featured
Choose any theme you want, and click the install button

You will see a pop window called “Connection Information”
This is because we don’t have permission to write file to the server through webpage

Choose SSH2 for connection type, since our CS server do not support FTP
Use best-linux.cs.wisc.edu for hostname, and your CS account for username and password.
Leave everything else blank, and click proceed.
Now you have the permission to write file to the server
Congratulations!
You have deployed WordPress on CS Linux Server!

# EOF


